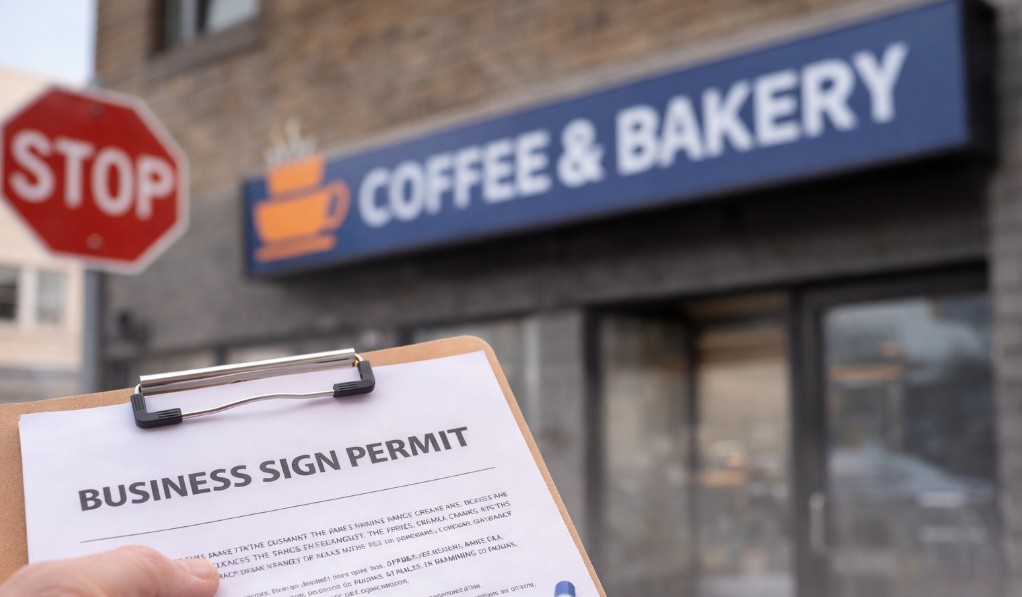
A new sign should feel like flipping the “open” switch, not waiting in line at a toll booth. Yet permit delays are one of the most common reasons a grand opening slips, a tenant misses a marketing push, or a property manager gets stuck juggling vendors.
This playbook breaks down the sign permit process in a way that small-business owners and US property managers can use right away. Rules vary by city, county, and even by corridor or overlay district, so the goal here is simple: submit the right package the first time, avoid predictable trip-ups, and keep your install date on track.
Why sign permits get stuck (and how to avoid the usual traps)
Most slowdowns come from four root causes:
1) Zoning and overlay surprises
A sign that works in one district might be banned or capped in another. Special areas (historic districts, landmark buildings, planned developments) often add a second review.
2) Missing dimensions or unclear drawings
If reviewers can’t verify sign area, height, projection, or clearance from what you submitted, they kick it back. A lot of resubmittals are avoidable.
3) Public way issues
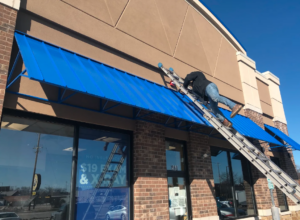
Anything that projects over or occupies public property can trigger extra approvals. In Chicago, this often means a separate public way process in addition to a building department sign permit. Start with Public Way Signs & Fixtures to see what typically falls into that bucket.
4) Electrical and structural gaps
Illuminated signs, new circuits, or field wiring usually require licensed electrical work and inspections. If the electrical scope isn’t clear early, your “sign permit” can turn into a multi-permit puzzle.
Step 1: Confirm what rules apply to your address (before design gets final)
Before you fall in love with a sketch, confirm the basics tied to the property:
- Zoning district and any special overlays (historic, landmark, TOD, planned development, special sign districts)
- Whether the sign is wall-mounted, projecting, freestanding, awning, or window
- Whether it’s illuminated, digital, or changeable copy
- Whether any part extends into the public way
- Landlord and tenant responsibilities (who applies, who pays, who owns the sign)
If you’re in Chicago, start with the City’s Sign Permits page, then confirm how your application is submitted through Apply for a Building Permit Online. For a “how other cities frame it” comparison, NYC’s overview of business signs is a helpful reference point.
A practical tip that saves time: take your own measurements and photos on site, even if a vendor will field-verify later. One wrong assumption about brick pilasters, parapet height, or canopy depth can ripple through the whole submittal.
Step 2: Build a permit-ready drawing set (what reviewers need to say “yes”)
Think of your permit set like a recipe. If any ingredient is missing, the reviewer can’t “cook” the approval.
For most EXTERIOR Signage, a strong submittal package includes:
- Site plan showing the building, street frontage, and sign location(s)
- Elevation drawing with sign placement and mounting height
- Exact sign copy, dimensions, and calculated sign area
- Materials and construction notes (cabinet, channel letters, pan face, etc.)
- Mounting and attachment details (fasteners, raceway, standoff, wall type)
- Lighting specs (type, wattage, UL labels if applicable, photometrics when required)
- Electrical notes (circuit, disconnect, transformer location when needed)
- Photos of existing conditions and adjacent signs (helps reviewers and landlords)
- Owner/landlord authorization letter (more on this below)
If the sign is large, heavy, elevated, or mounted in a way that raises safety questions, you may need sealed drawings or engineering. Don’t wait for the city to request it. Ask upfront, because engineering is often a schedule breaker if it starts late.
For illuminated work, also review your local electrical inspection requirements early. Chicago’s Electrical Inspections page and the City’s Electrical Requirements training document are good examples of the level of detail inspectors expect.
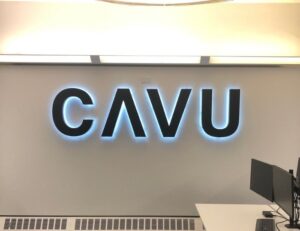
What about interiors? Many cities don’t require permits for most lobby signs, wayfinding, or wall graphics, but there are exceptions (egress paths, exit signage, fire ratings, electrical). If you’re planning interior branding at the same time, bundle decisions early so your Interior Signage Solutions don’t get stalled waiting on a late electrical scope change.
A realistic timeline you can plan around (2 to 8+ weeks, sometimes longer)
Permit time is not just “city review.” It’s design finalization, landlord signoff, fabrication lead time, and inspection scheduling.
Here’s a practical schedule range that works for many projects, with the understanding that public way approvals, landmark review, and resubmittals can push it out:
| Phase | Typical duration | What speeds it up |
|---|---|---|
| Pre-checks (zoning, landlord rules, site photos) | 2 to 5 days | Get written landlord criteria early |
| Drawings and pricing locked | 3 to 10 days | One decision-maker, one final proof |
| Permit prep and submission | 2 to 7 days | Complete plans, consistent dimensions |
| City review and approval | 2 to 6+ weeks | Clear notes, fast responses to comments |
| Fabrication and install scheduling | 2 to 6+ weeks | Order materials right after submittal |
| Inspections (if required) | 1 to 14 days | Pre-book likely windows |
In Chicago, simple reviews are often measured in weeks, while signs involving the public way can extend to months depending on the approvals required. The safest approach is to plan the project like a chain, not a single step. One delayed link (like a landlord letter) can stop the whole thing.
The “delay-proof” approach to reviews and resubmittals
Fast approvals usually come down to two habits:
Answer the reviewer’s question before they ask it.
If your drawing shows a sign, also show what it’s mounted to, how it’s supported, and how it’s powered (or state clearly that it’s non-illuminated).
Treat comments like a checklist, not a debate.
Most resubmittals drag when applicants reply in fragments. A clean, numbered response letter with matching sheet revisions cuts review time.
Templates you can copy and use today
1) Permit intake checklist (collect this before design is “final”)
Property and contacts
- Business name, address, suite number
- Owner name and property manager contact
- Landlord approval path (email is fine, but get it in writing)
Site facts
- Photos of storefront and mounting surface
- Mounting height estimate, storefront width, canopy depth
- Existing signs, including any that may be removed
Sign details
- Sign type (wall, projecting, awning, window, freestanding)
- Exact dimensions, area calculation, copy artwork
- Illumination type (none, external, internal LED, halo-lit)
Install scope
- Attachment method and wall type
- Electrical scope and who provides it (licensed electrician if required)
- Lift access needs, sidewalk closure needs, or public way impacts
2) Questions to ask the planner or permit counter (before you submit)
- Which code section governs signs at this address (and are there overlays)?
- Do projecting signs, awnings, or canopies require separate approvals here?
- Are there limits on sign area, height, projection, or illumination type?
- Will sealed drawings or engineering be required for this sign type?
- Will electrical work require a separate permit and inspection?
- What is the best format for resubmittals (revised sheets only, or full set)?
- Are there common rejection reasons for sign permits in this district?
3) Contractor or sign fabricator scope checklist (so nothing falls between trades)
- Provide permit-ready drawings (site plan, elevation, details, lighting notes)
- Confirm code-compliant sign area calculations
- Provide landlord submittal packet (rendering plus specs)
- Provide fabrication files matching approved permit drawings
- Coordinate electrician scope (disconnect, circuit, transformer access)
- Coordinate install logistics (lift, lane/sidewalk needs, work hours)
- Schedule inspections early if required, and attend if needed
- Closeout package (photos, permit card, inspection signoff info)
4) Resubmittal response template (paste into your reply email or cover letter)
Project: [Business Name], [Address]
Permit/Application #: [Number]
Date: [MM/DD/YYYY]
- Comment: [Paste reviewer comment]
Response: [Direct answer, one to two sentences]
Revision: [Sheet A-1, detail 2 updated; note added; dimension corrected] - Comment: …
Response: …
Revision: …
Summary of changes: [One short paragraph listing sheets revised and what changed.]
Get help when the schedule matters
If you’re coordinating a new tenant, a rebrand, or a multi-site rollout, a sign partner who’s used to permits can prevent weeks of back-and-forth. It also helps when your project includes both EXTERIOR Signage and interior branding, since electrical and install timing can overlap.
For a sense of the team and how projects are managed, see https://landmarkvisibilitysolutions.com/about-us/. If you’re planning building-mounted signs or illuminated letters, review https://landmarkvisibilitysolutions.com/services/exterior-architectural-signage/. Want examples of finished work across property types? Browse https://landmarkvisibilitysolutions.com/case-studies/. To map out a permit-ready plan and timeline for your location, contact https://landmarkvisibilitysolutions.com/contact/.
Conclusion
Permits don’t have to be mysterious, but they do reward preparation. Confirm zoning and overlays early, lock down landlord approval, submit complete drawings with clear dimensions, and treat resubmittals like a clean checklist. When you run the sign permit process this way, the city review becomes a step in the project, not the thing that controls it.