Channel letter signs are one of the most effective ways to increase visibility, reinforce brand credibility, and attract foot traffic. But a smooth installation doesn’t just happen—it depends on preparation. Whether you’re installing signage on a new build or upgrading an existing storefront, this checklist will help you avoid delays, surprises, and costly rework.
Below is a practical, business-owner–friendly guide covering mounting decisions, electrical prep, and what to confirm before the installation crew arrives.
What Are Channel Letters and Why Installation Matters
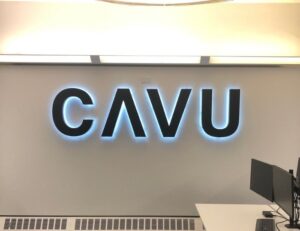
Channel letters are individually fabricated, illuminated letters typically mounted directly to a building façade or to a raceway. Because they involve electrical connections, structural attachment, and visual alignment, installation quality has a direct impact on both performance and longevity.
If you’re still evaluating signage options, it helps to understand how channel letters fit within a broader exterior signage strategy like those outlined on Landmark Visibility Solutions’ exterior architectural signage services.
Mounting Options to Decide in Advance
Before installation day, confirm which mounting method your sign will use. This affects wall prep, electrical access, and final appearance.
Flush Mount (Direct Mount)
-
Letters mount directly to the building surface
-
Electrical wiring passes through the wall behind each letter
-
Clean, modern look but requires precise drilling
Raceway Mount
-
Letters mount to a painted metal raceway that houses wiring
-
Fewer wall penetrations
-
Easier future maintenance
Your installer should review the building surface material (brick, EIFS, metal panel, concrete) ahead of time. If you’re unsure what’s best for your building, a professional sign company can help evaluate mounting during the design phase, similar to how Landmark approaches projects showcased in their new construction case studies.
Electrical and Wiring Checklist
Electrical prep is one of the most common sources of installation delays. Use this checklist to stay ahead of issues:
-
Confirm power availability near the install location
-
Verify voltage requirements for the sign (typically low-voltage LED with a transformer)
-
Ensure a licensed electrician is scheduled if required by local code
-
Identify where power supplies and transformers will be housed
-
Confirm access to an interior power shutoff
If your building already has signage, removal or reuse of existing electrical components should be discussed ahead of time. This is especially important for multi-tenant buildings or senior living facilities, where coordination is critical—something reflected in Landmark’s senior living signage projects.
Permits, Approvals, and Site Access
Well before install day, confirm all administrative and logistical items are handled.
Permits and Landlord Approval
-
Local sign permits approved and on file
-
Landlord or property manager sign-off obtained
-
HOA or design review board approval if applicable
Site Access and Logistics
-
Installation date and time confirmed
-
Lift or bucket truck access approved
-
Parking or loading zone reserved
-
Interior access coordinated if wiring runs inside
If you’re working with a full-service sign provider, these steps are often managed for you as part of a turnkey process like those described on the services overview page.
What to Inspect Before the Crew Arrives
A quick pre-install walkthrough can prevent day-of surprises.
-
Wall surface inspected for damage or obstructions
-
Final sign layout and spacing approved
-
Color, size, and illumination style confirmed
-
Branding matches interior signage and other locations
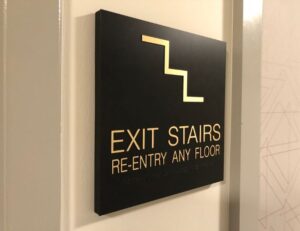
Consistency is especially important for multi-location businesses. Interior and exterior signage should align visually, which is why many companies coordinate channel letters with complementary interior signage solutions.
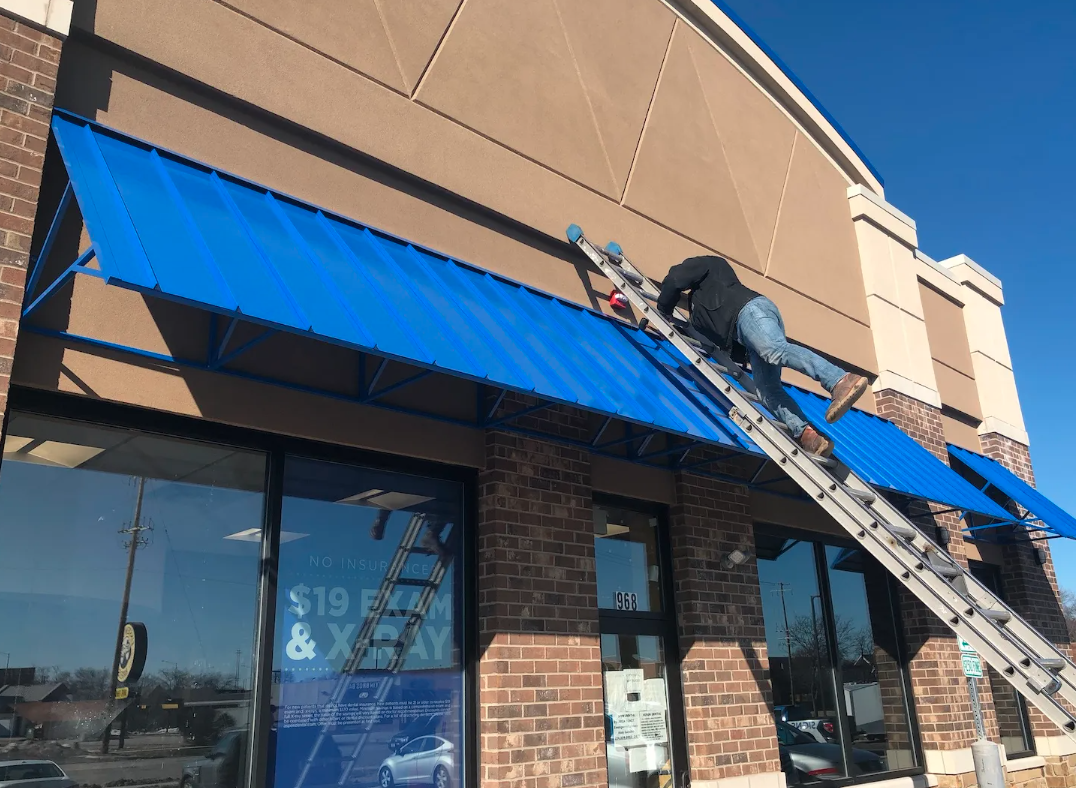
Installation Day Expectations
On install day, the crew will typically:
-
Mark and drill mounting locations
-
Secure letters or raceway
-
Connect wiring and power supplies
-
Test illumination and alignment
-
Seal penetrations and clean the area
A reputable installer will walk you through a final test and confirm brightness, color temperature, and visibility from key sightlines.
After Installation: Final Checks and Maintenance Planning
Once the sign is live:
-
Confirm warranty details for LEDs and power supplies
-
Ask about recommended cleaning and inspection intervals
-
Document permit approvals and electrical details for future reference
You can also review real-world outcomes by browsing completed projects in Landmark’s case studies library or reading feedback from other business owners on the customer testimonials page.
When to Talk to a Sign Professional
If you’re early in the planning phase—or want help coordinating design, permitting, fabrication, and installation—it’s worth consulting a dedicated sign company. Landmark Visibility Solutions supports businesses throughout the region, with localized expertise reflected in their service area pages.
A short conversation before install day can save weeks of delays later.
TL;DR / Key Takeaways
-
Decide on flush mount vs. raceway early
-
Confirm electrical requirements and power access
-
Secure permits and approvals before scheduling install
-
Inspect the site and approve final layouts in advance
-
Work with an experienced sign company to avoid delays